
Tutorial: Generate & Refine Variants
This tutorial walks you through generating variants for an existing template, refining them using chat, and approving them for experimentation.
Before you start
Section titled “Before you start”- You need a saved template with variables, fields, attributes, and themes configured. If you don’t have one yet, follow Create Your First Template.
- Confirm your experimentation method in Configure → Integration (Internal Experimentation recommended).
Step 1: Open the variant creator
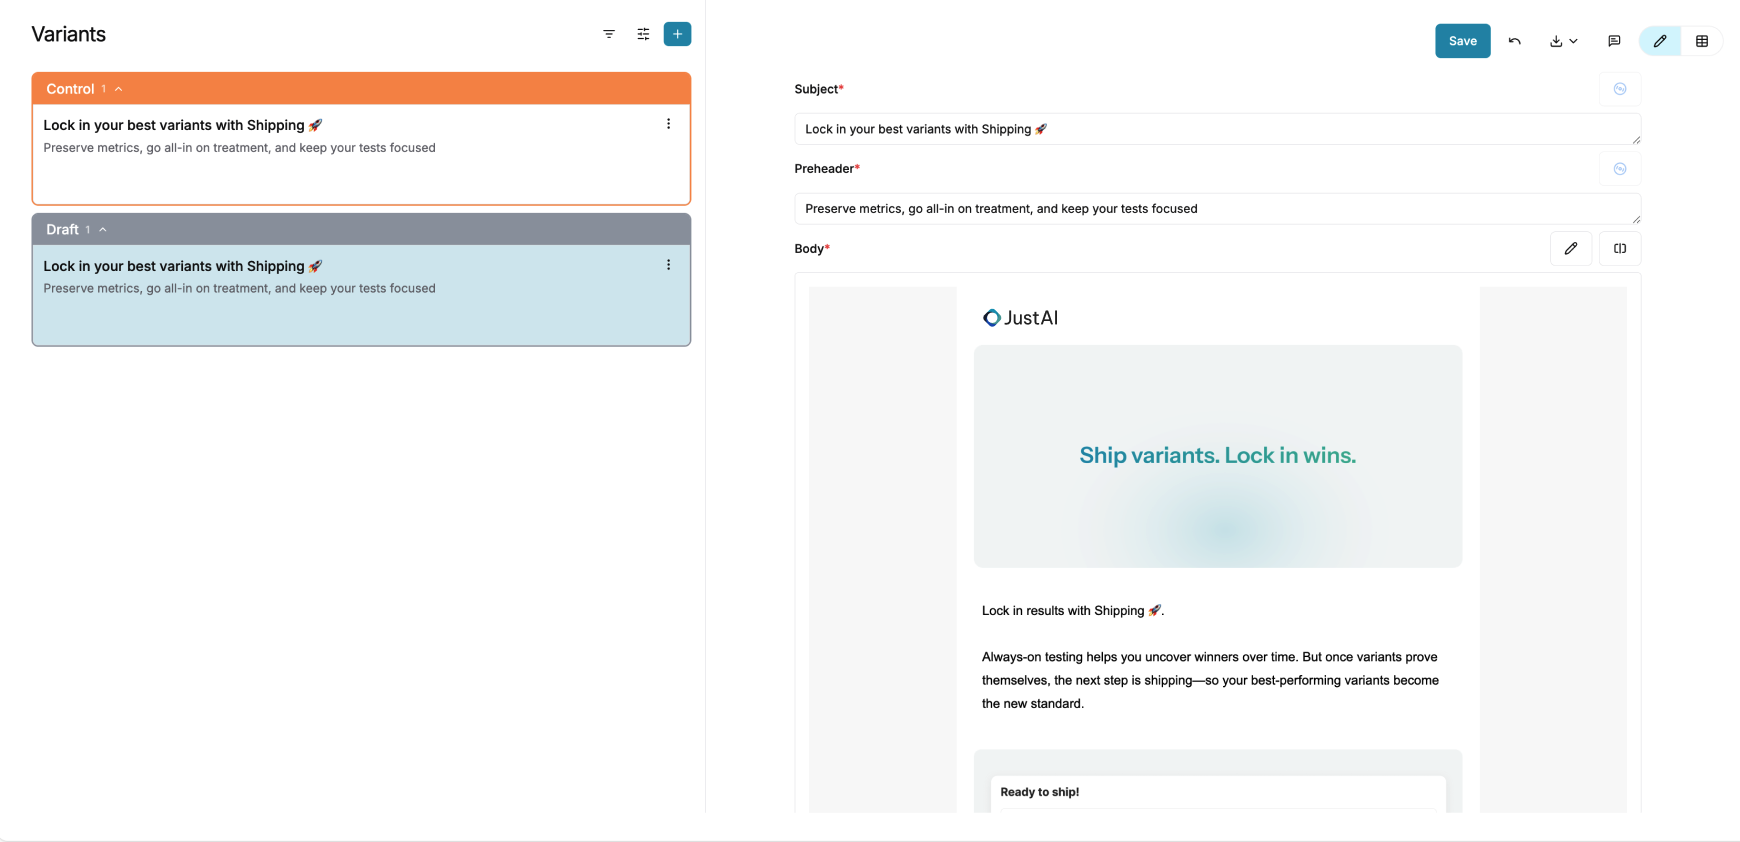
Section titled “Step 1: Open the variant creator”- Open your template and go to Studio.
- In the Variants component, you’ll see the control copy pulled from your ESP.
- Click the + button in the top-right corner of the Variants component.
Step 2: Configure generation inputs
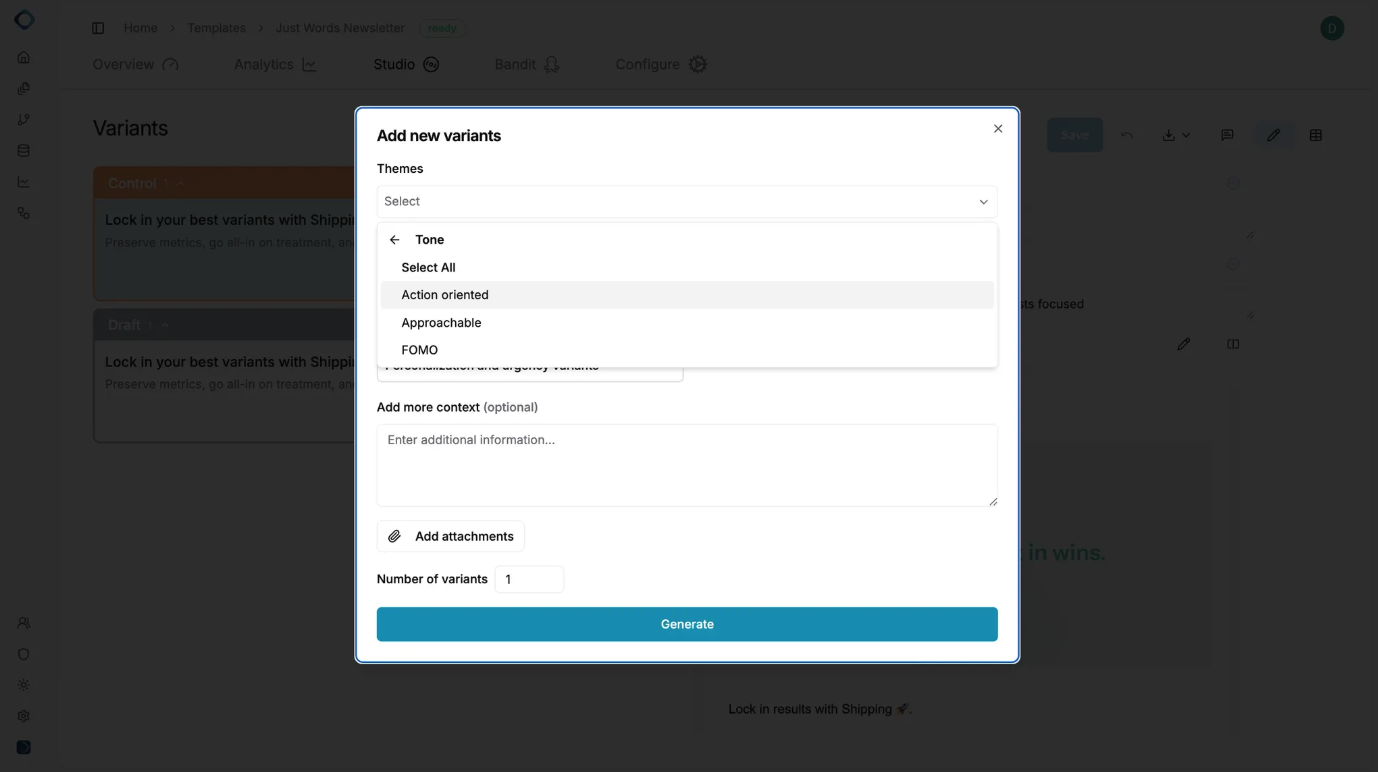
Section titled “Step 2: Configure generation inputs”A creation modal opens. Select the inputs that should guide variant generation:
| Input | What it does |
|---|---|
| Themes | Guides tone and framing (e.g., urgency, friendliness). Uses themes from your template setup. |
| Attributes | Generates variants targeted to specific segments (e.g., subscription_tier = premium). |
| Fields | Includes personalization tokens in copy (e.g., {{ firstName }}). |
| Additional Context | Free-text instructions (e.g., “Keep subject lines under 40 characters”, “Focus on free shipping”). |
Select one or more inputs, then click to generate.
Step 3: Iterate in chat
Section titled “Step 3: Iterate in chat”After submitting, a chat experience opens on the right side of the screen. This is where the AI generates variants and you refine them.
Things you can do in chat:
- Compare variants side by side
- Edit with natural language: “Make this more concise”, “Increase urgency”, “Try a question format”
- Generate additional variants: “Give me 2 more like the second one”
- Approve variants directly from the chat
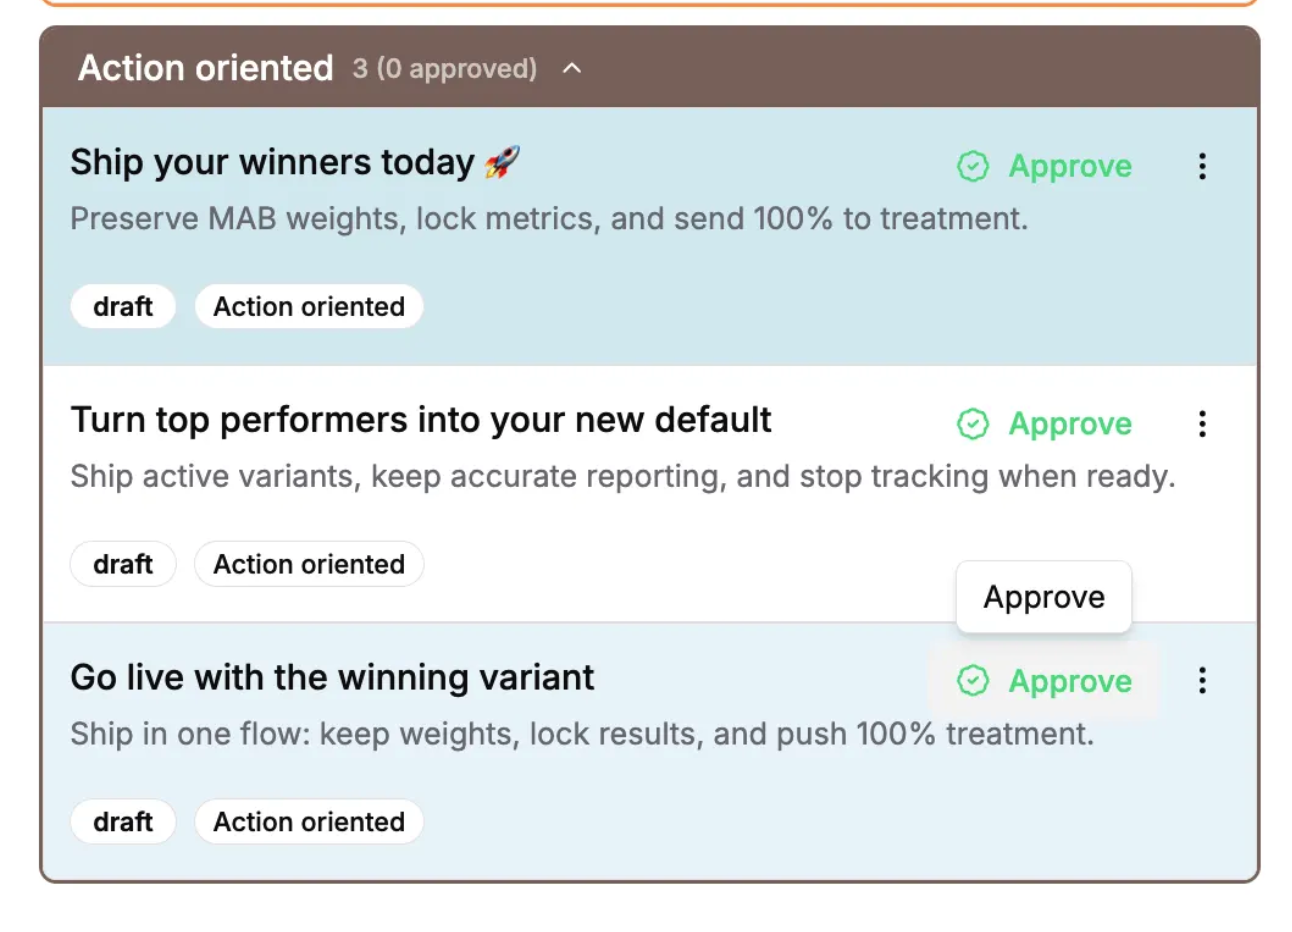
Step 4: Review variant grouping
Section titled “Step 4: Review variant grouping”Once created, variants appear in the Variants list on the left side of the screen. They’re automatically grouped by:
- Shared themes (e.g., all urgency variants together)
- Shared attributes (e.g., all premium-tier variants together)
This grouping helps you understand how variants relate and how they’ll be evaluated in experiments.
Step 5: Edit variants (3 options)
Section titled “Step 5: Edit variants (3 options)”Option A: Remix (AI-assisted edits)
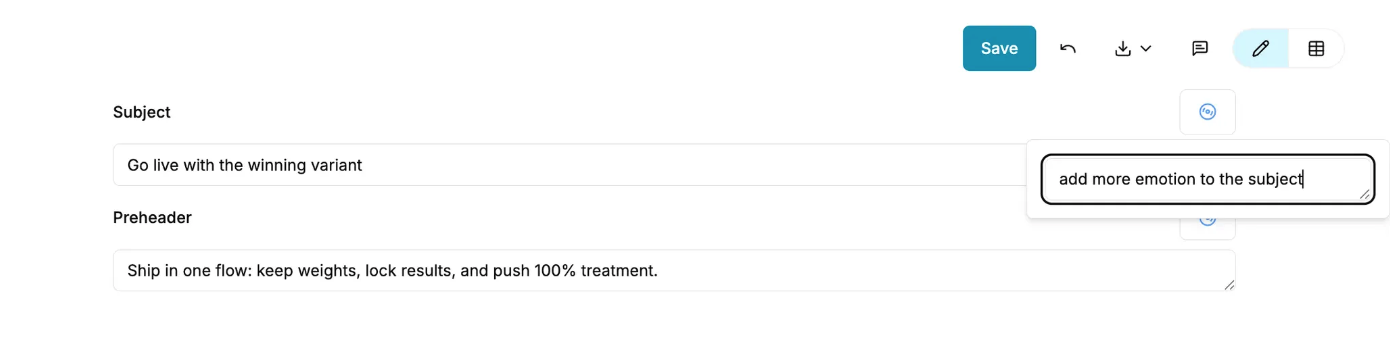
Section titled “Option A: Remix (AI-assisted edits)”For targeted changes to a specific part of a variant:
- Open the variant and click Remix in the email preview, or
- Right-click a specific section of the email body and select Remix
- Enter a prompt (e.g., “Make this more urgent”, “Shorten the CTA”)
Option B: Visual Editor (manual edits)
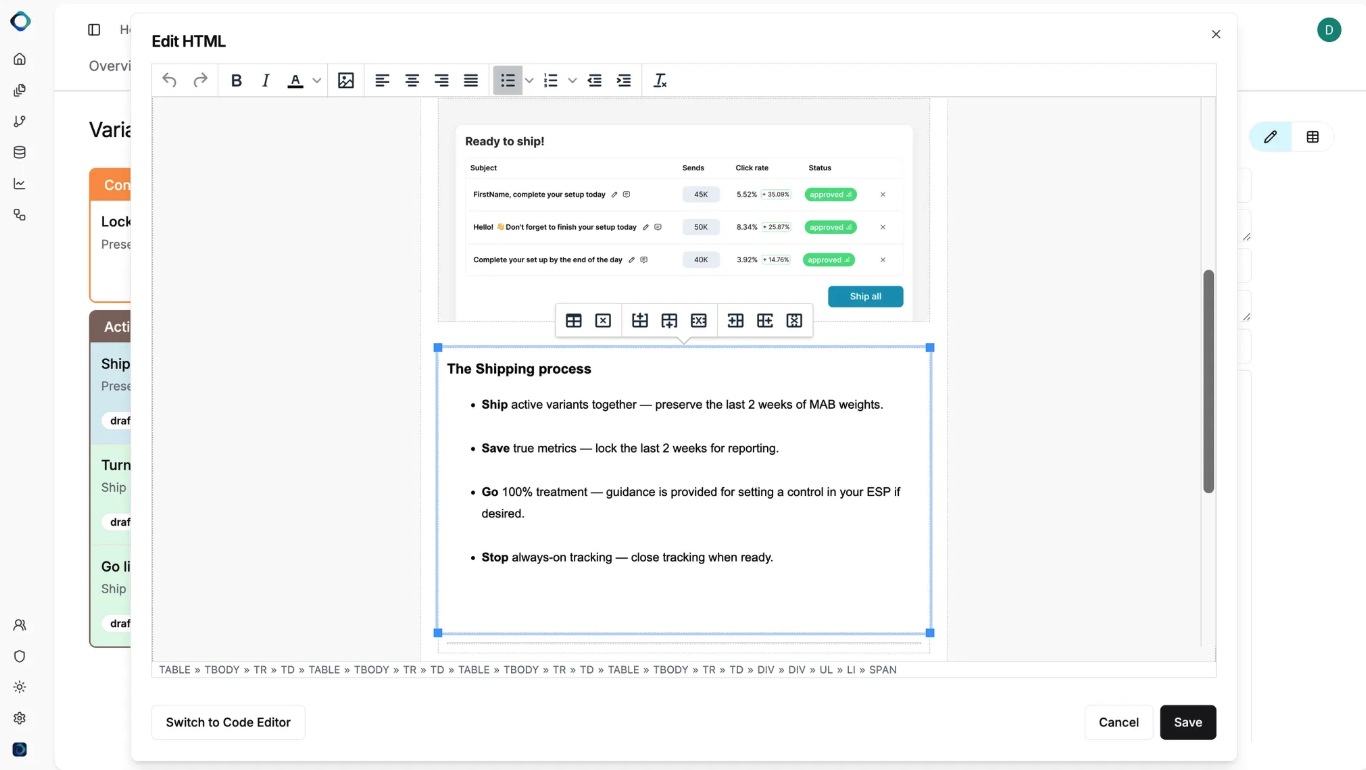
Section titled “Option B: Visual Editor (manual edits)”For full manual control:
- Open the variant
- Click the pencil icon in the top-right corner of the Body component
- Edit copy directly in each section
Option C: Open in Chat
Section titled “Option C: Open in Chat”For conversational editing:
- Click the three-dot (⋯) menu on any variant
- Select Open in Chat
- Enter natural language instructions
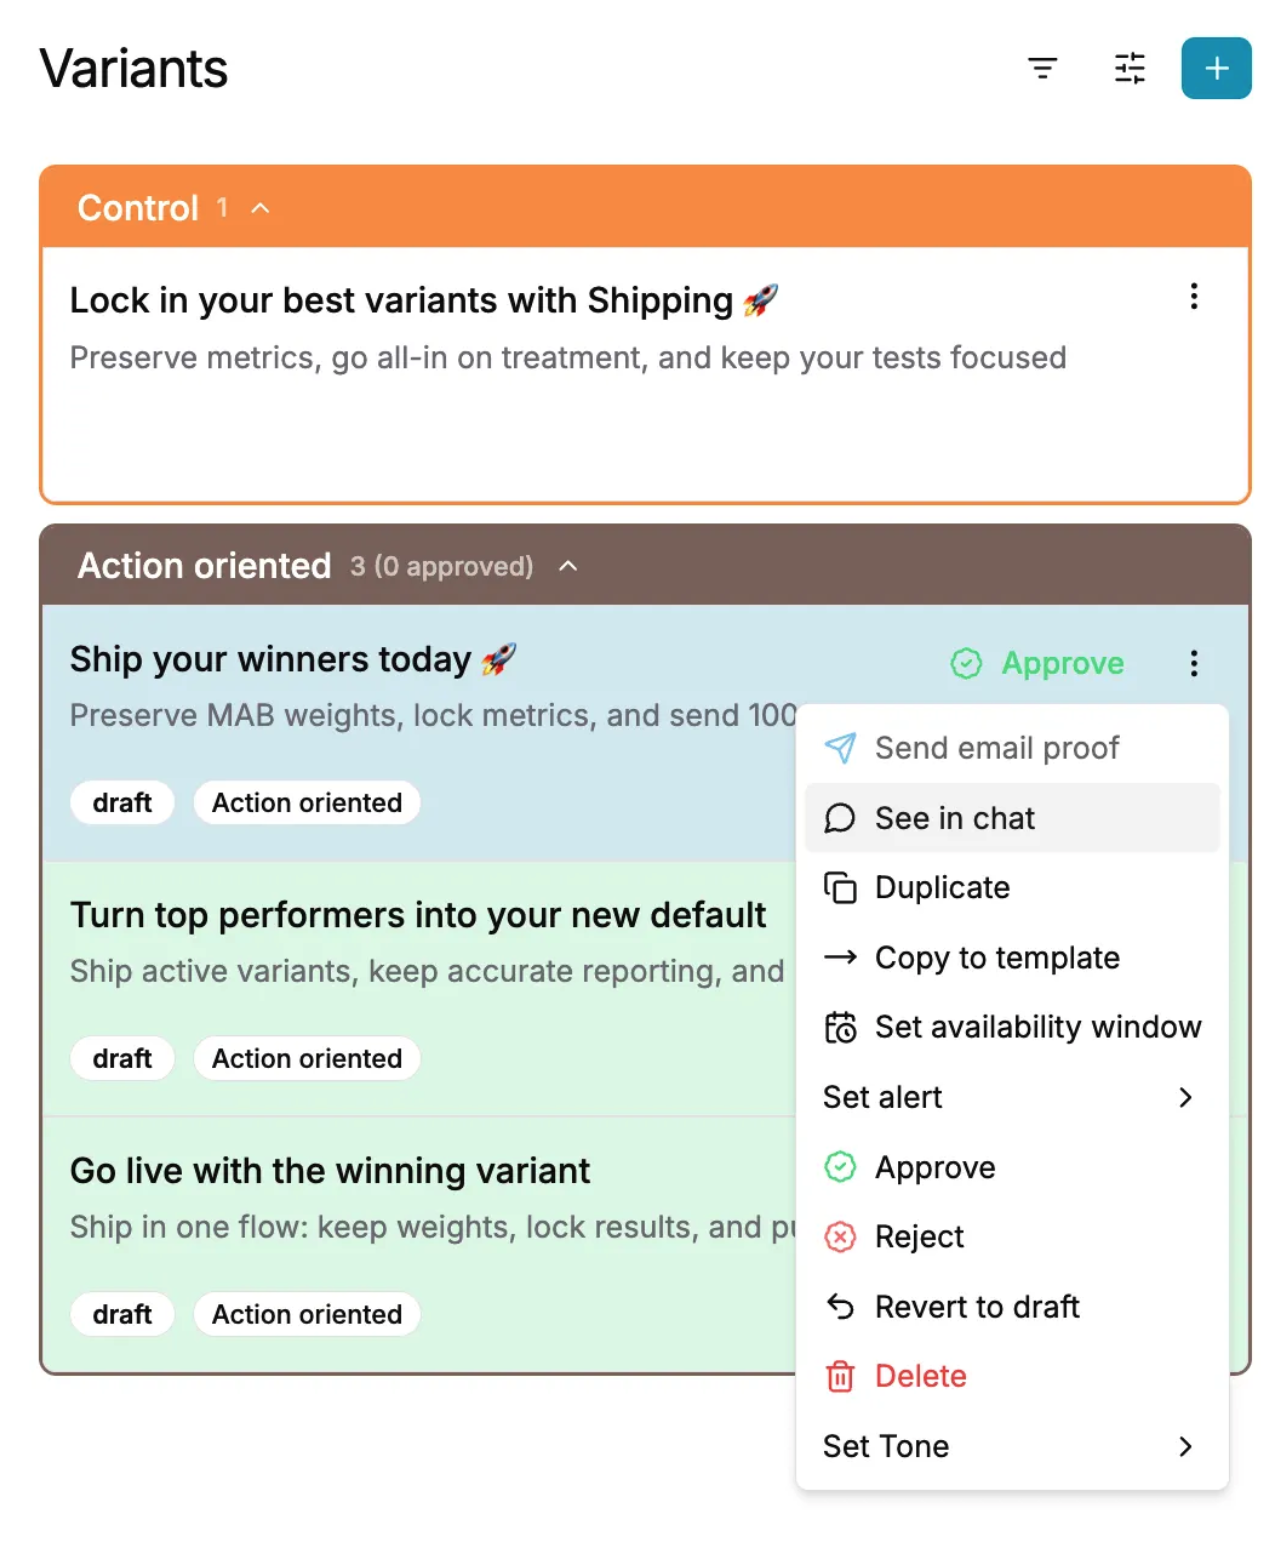
Step 6: Approve variants
Section titled “Step 6: Approve variants”When a variant is ready:
- Click the green “Approve” button on individual variants
- To bulk approve: hold Shift, select multiple variants, and click Approve
Approved variants are eligible for experimentation and traffic splitting.
What’s next
Section titled “What’s next”- Read the Analytics Dashboard — understand how your variants are performing
- Set Up Auto-Tune — let JustAI optimize traffic automatically
- Prompting Guide — improve your variant generation prompts