WebEngage
Connect WebEngage to JustAI to run AI-optimized copy experiments in your existing campaigns. WebEngage fetches the best content variant for each recipient at send time through a Content API, and JustAI learns from the opens and clicks you send back.
How it works
Section titled “How it works”- You create a Content API in WebEngage that points to JustAI’s content endpoint.
- At send time, WebEngage calls JustAI for each recipient and gets back copy (subject, preheader, HTML body, and a copy ID) that you insert into your message.
- In Journeys, you split traffic: the control path keeps your current email as the baseline, and the treatment path uses the JustAI content.
- WebEngage sends campaign events (sends, opens, clicks) back to JustAI via Data Pipelines or batch exports.
- JustAI joins those events with its record of which copy each recipient received to measure control-vs-treatment performance and serve better copy over time.
Before you start
Section titled “Before you start”- Your JustAI org slug — usually your company name in lowercase (ask us if you’re not sure).
- A JustAI API key to authenticate WebEngage’s calls (ask us if you don’t have one).
- The template ID (
template_id) of the JustAI template you want to serve. - Access to WebEngage Settings (to add a Custom Content API) and to Journeys.
Connect WebEngage to JustAI
Section titled “Connect WebEngage to JustAI”Step 1 — Create a Content API pointing to JustAI
Section titled “Step 1 — Create a Content API pointing to JustAI”- In WebEngage, go to Settings → Data Platform → Custom Content APIs → Add new API:
- Name:
JustAI - Endpoint URL:
https://worker.justwords.ai/api/generate/<org_slug>?template_id=<template_id> - Headers:
X-Api-Key: <JUSTAI_API_KEY>Content-Type: application/json
- Name:
- Enable parameters you’ll pass to the API (for personalization and variant generation):
user_id,email,gender,cohort,lifecycle_stage, etc. - Set the request type to
POSTand the response type toJSON.
Step 2 — Send campaign events to JustAI
Section titled “Step 2 — Send campaign events to JustAI”Send engagement events for both control and treatment back to JustAI so it can measure which copy wins.
Option A — WebEngage Data Pipelines / Webhooks (recommended, near-real-time)
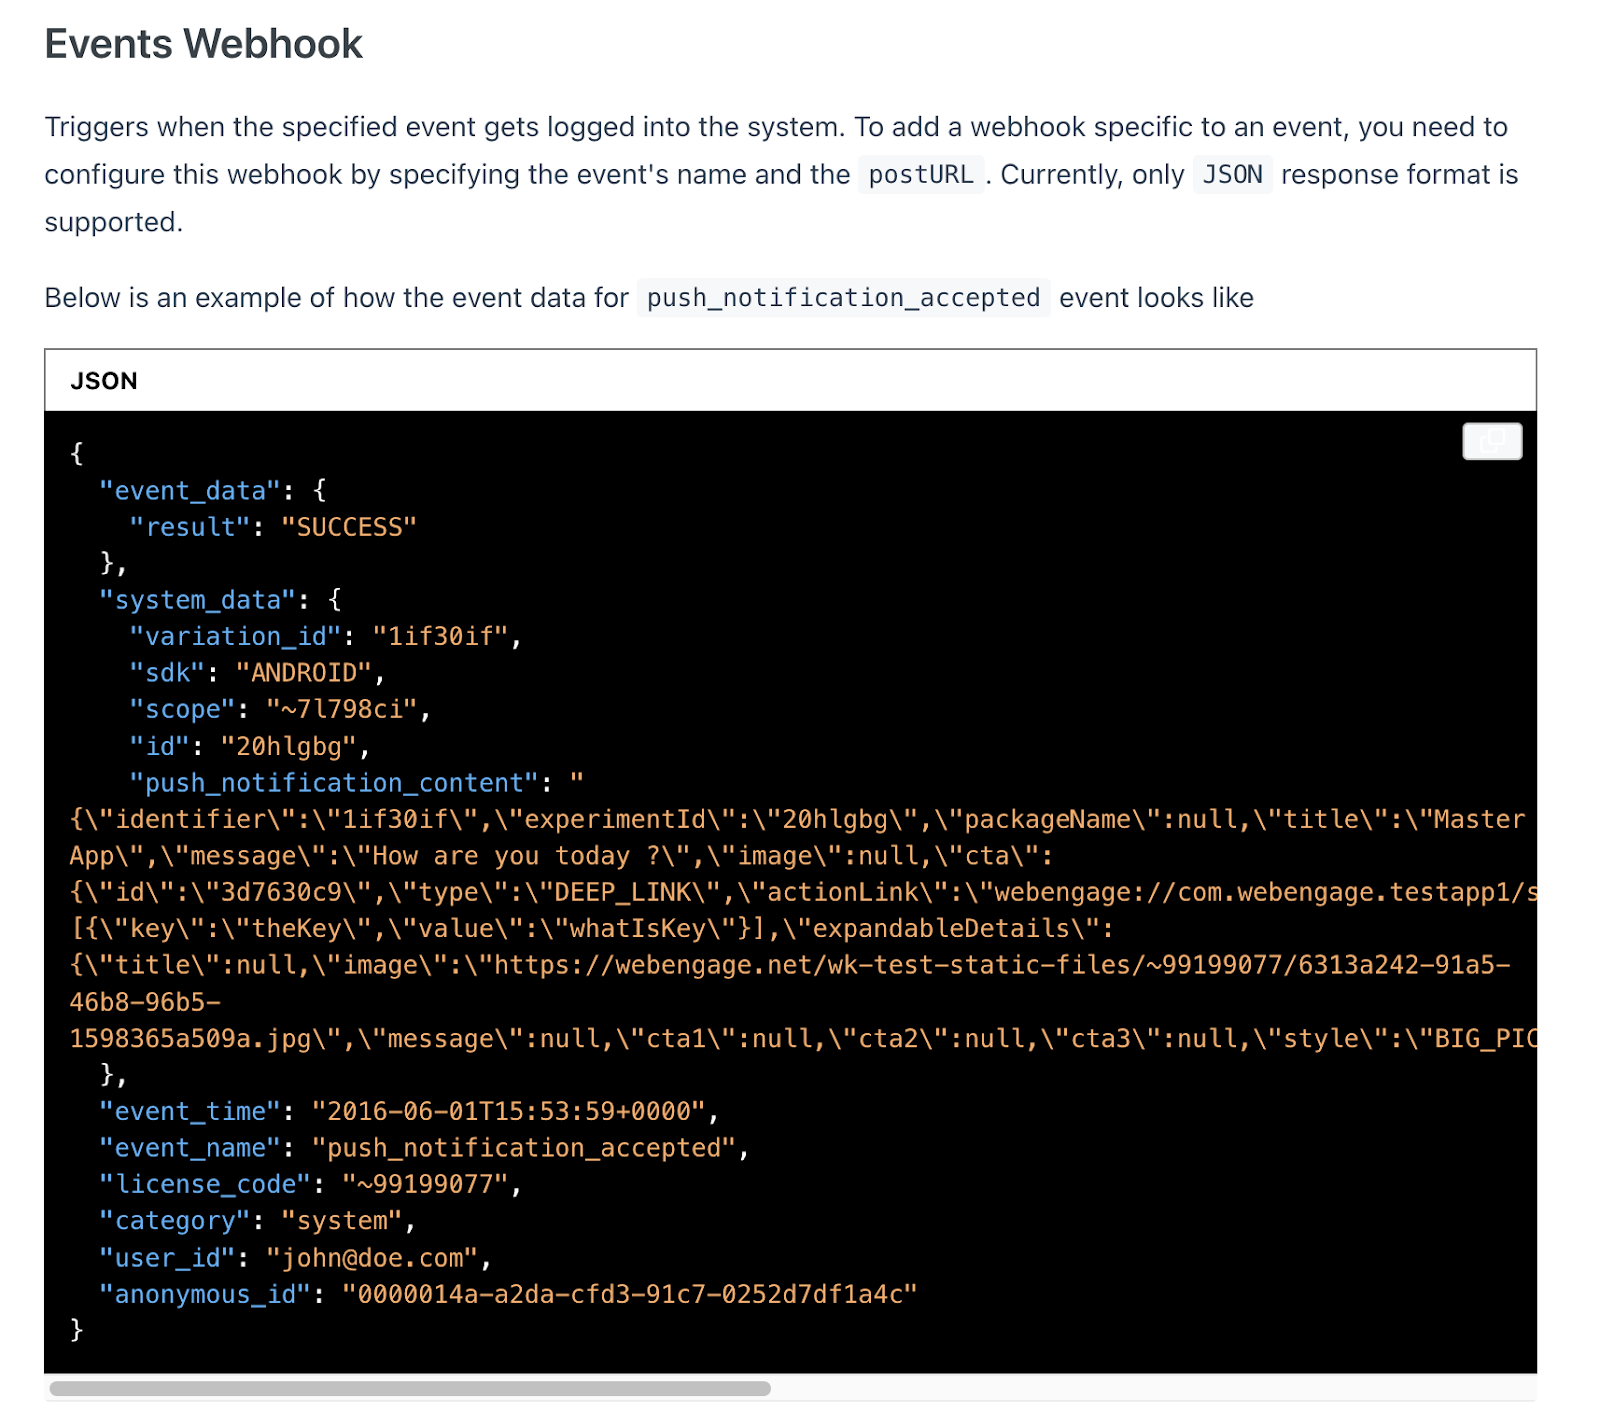
Section titled “Option A — WebEngage Data Pipelines / Webhooks (recommended, near-real-time)”- Ask WebEngage to enable Data Pipelines (Event Webhooks).
- Ask JustAI to validate the WebEngage payload mapping for your organization.
- Configure a new webhook destination:
https://worker.justwords.ai/api/webhook/events/<org_slug>- Headers:
X-Api-Key: <JUSTAI_API_KEY>Content-Type: application/json
- Select only the event types included in the validated mapping:
- Email Sent
- Email Opened
- Email Clicked
- Email Unsubscribed
- Email Bounced
- Include identifiers in the payload:
campaign_idvariation_id(A/B branch)user_idemailevent_time- optionally
justai_copy_id(if you inject it into the email body as a hidden comment or UTM param)
Example payload → JustAI event (illustrative; the accepted shape depends on your mapping):
{ "platform": "webengage", "channel": "email", "event": "email_click", "campaign_id": "{{campaign_id}}", "variation_id": "{{variation_id}}", "user_id": "{{user_id}}", "email": "{{email}}", "timestamp": "{{event_time}}", "metadata": { "journey_id": "{{journey_id}}", "link_id": "{{link_id}}", "justai_copy_id": "{{justai_copy_id}}" }}How JustAI uses these events: they are joined (by user_id/email, campaign_id, and timestamp) with JustAI’s serve logs from the Content API — the record of which copy each recipient received, including copy_id. This enables copy-level lift tracking (open/click/conversion).
Option B — Batch exports to S3 / warehouse
Section titled “Option B — Batch exports to S3 / warehouse”If your WebEngage account doesn’t have Pipelines:
- Configure daily exports to S3 (or Redshift/BigQuery).
- Include events: send, open, click, unsubscribe.
- Add identifiers:
campaign_id,variation_id,justai_copy_id, and user attributes. - Use the org-specific bucket and prefix provided by JustAI.
JustAI reads the exports daily to update per-copy performance metrics.
Set up a campaign
Section titled “Set up a campaign”Build the experiment in Journeys, with a control path (your current email) and a treatment path (JustAI copy):
- In Journeys, add an A/B Split Node.
- Path A (Control): your standard email.
- Path B (Treatment): clone the email and replace the body (or subject) with the JustAI block below.
- Launch the campaign to compare performance between control and AI-generated copy.
In the WebEngage HTML editor (or your “Dynamic Content” block), call the Content API and insert the returned copy:
{% set jw = callContentApi('JustAI', {  "params": {    "email": user.email|default(''),    "user_id": user.id|default(''),    "gender": user.gender|default(''),    "cohort": user.cohort|default('')  }}) %}

<!-- Insert the HTML returned by JustAI -->{{ jw.copy.vars.body|safe }}

<!-- Optional debug/analytics marker --><!-- JUSTAI_COPY_ID: {{ jw.copy.id|default('') }} -->
Notes:
- You can also use
{{ jw.copy.vars.subject }}or{{ jw.copy.vars.preheader }}in your subject line/preheader fields. - If your workspace uses
contentapi()or a different helper, adapt the syntax. - Always include safe defaults for missing attributes.
Personalization
Section titled “Personalization”Pass user attributes to the JustAI Content API so it can tailor copy to each recipient, and use safe defaults anywhere you reference attributes directly.
First-name personalization (safe fallback)
Section titled “First-name personalization (safe fallback)”{% set first = user.first_name %}{% if first %} Hi {{ first }},{% else %} Hi there,{% endif %}Always provide defaults. Use conditional logic to avoid blank greetings or malformed text.
Segment-based variants
Section titled “Segment-based variants”- Ensure user attributes like
gender,plan_type, orcohortare tracked in WebEngage user profiles. - Pass them as parameters to the JustAI API so JustAI can return gender- or cohort-specific copy.
- Optionally, layer an A/B split within each segment to test per-segment winners.