
Tutorial: Set Up Auto-Tune
Auto-Tune monitors your live experiments and surfaces recommendations to improve performance — without taking control away from you. This tutorial walks through enabling it, understanding notifications, and managing the optimization loop.
Before you start
Section titled “Before you start”- You need a template with an active experiment that’s accumulating traffic.
- Your template should use Internal Experimentation with Persistent User Bucketing enabled.
- Auto-Tune evaluates variants after they reach 1,000 sends.

How Auto-Tune works
Section titled “How Auto-Tune works”Auto-Tune runs in the background on live experiments. It:
- Monitors variant performance against your key metric
- Identifies statistically significant winners and losers
- Sends you a Slack notification when action is needed
- Suggests what to archive and what new variants to approve
Nothing changes automatically — you’re always in control of what goes live.
Step 1: Get notified via Slack
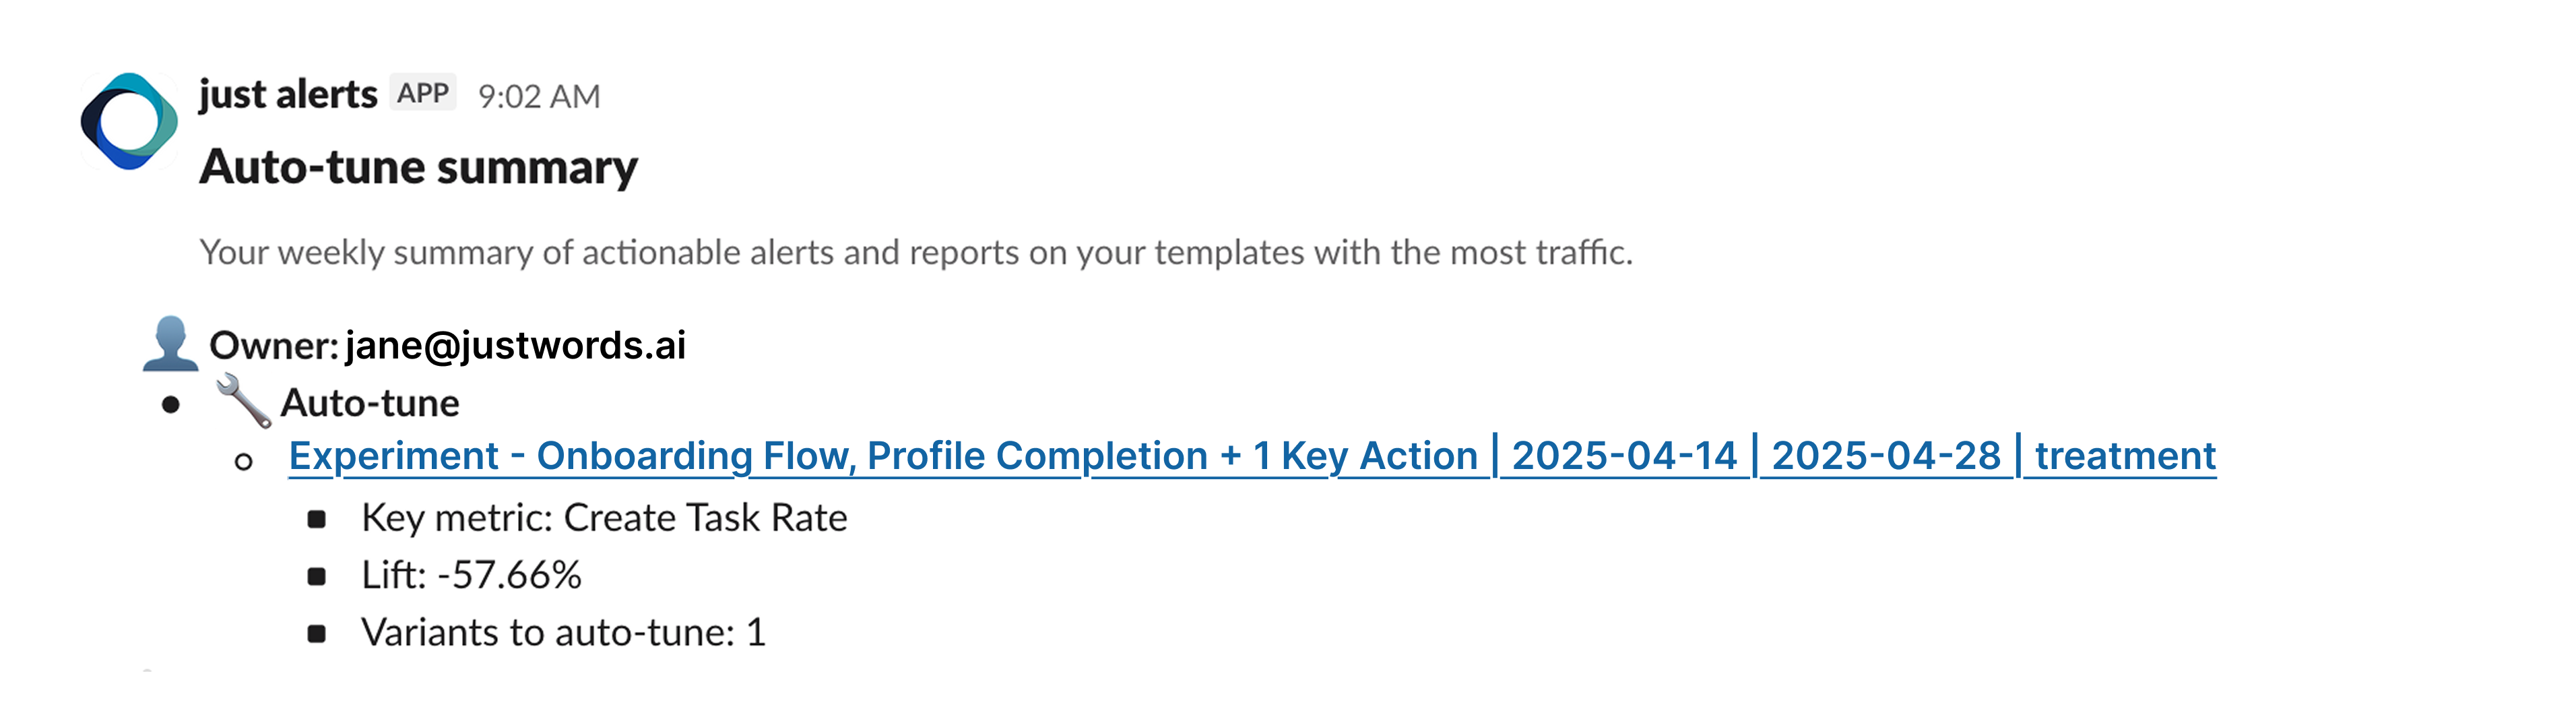
Section titled “Step 1: Get notified via Slack”When an experiment is eligible for Auto-Tune, you’ll receive a Slack notification summarizing:
- Which experiment is running
- The key metric being evaluated
- Whether variants are over- or under-performing
Click the notification to go directly to the experiment in Compact Mode in Studio.
Step 2: Review performance in Compact Mode
Section titled “Step 2: Review performance in Compact Mode”Compact Mode gives you a summarized view of the experiment:
- The control and all active variants
- Which variants are outperforming (green)
- Which variants are underperforming (red)
- Why certain variants are flagged for Auto-Tune actions
This view lets you assess the situation at a glance before making any changes.
Step 3: Archive underperformers
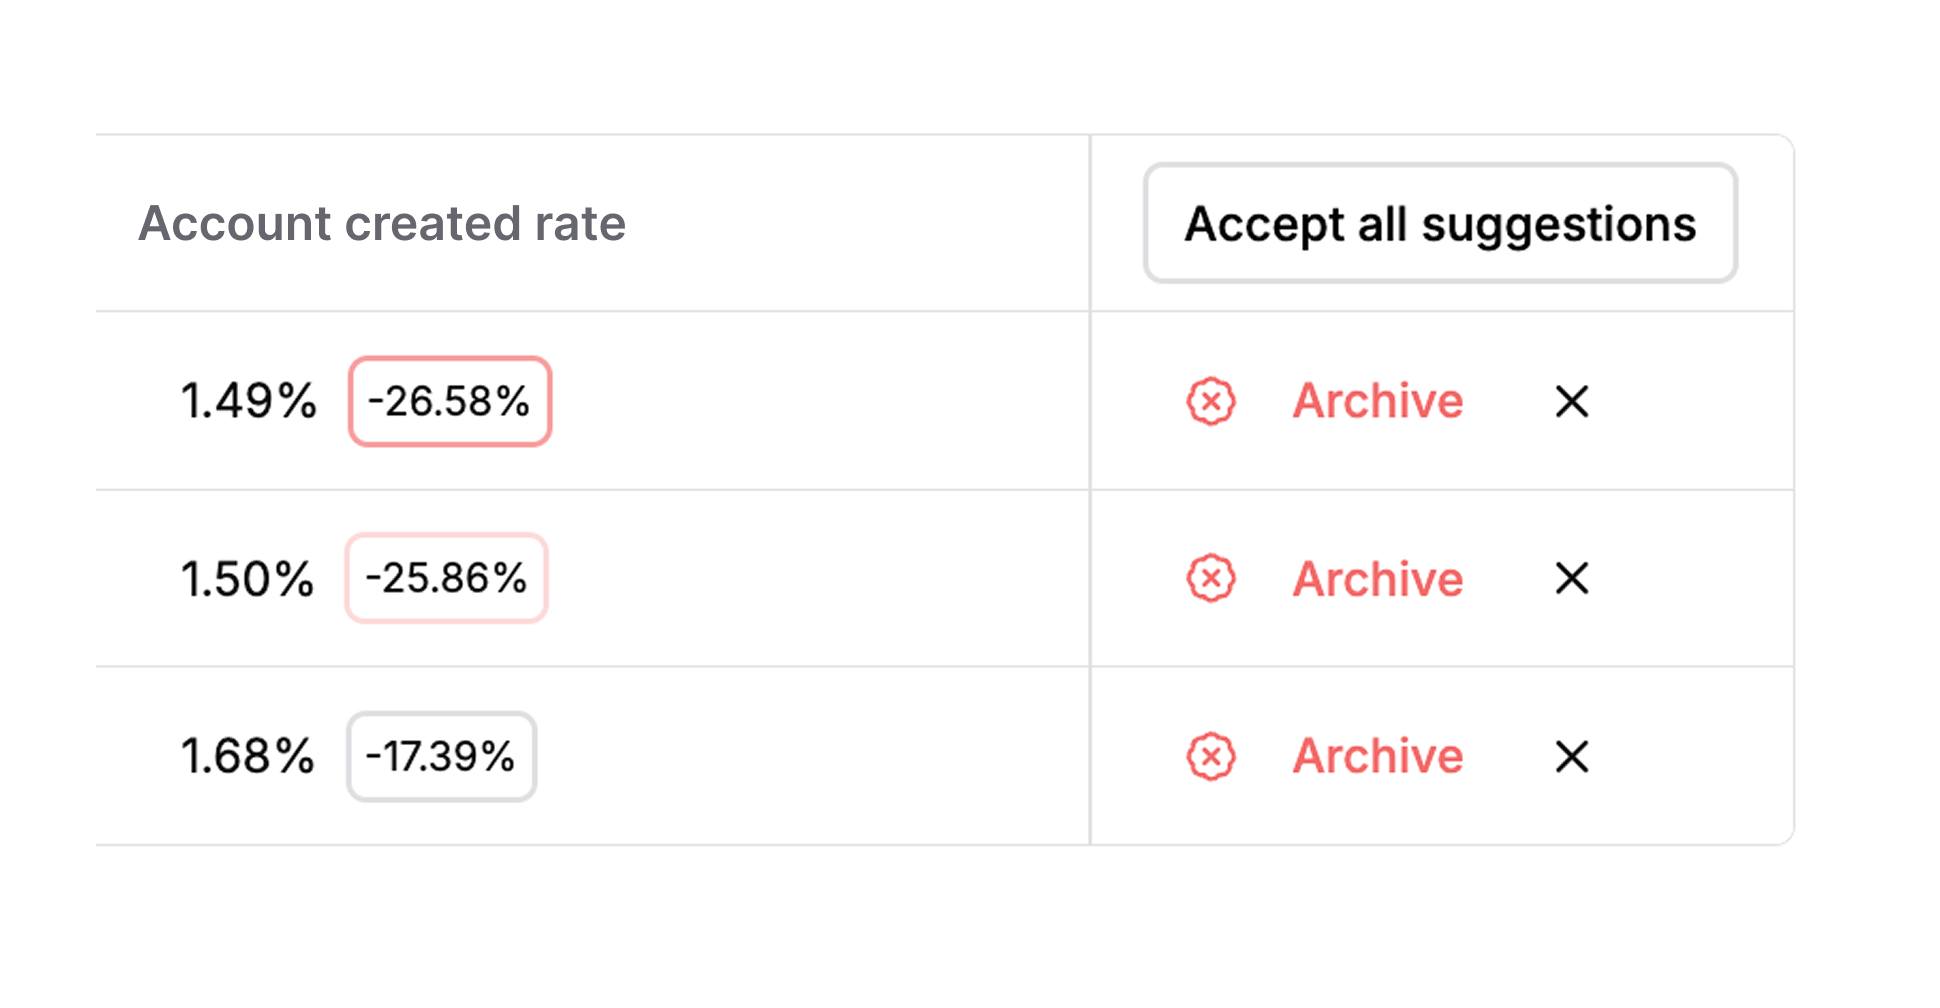
Section titled “Step 3: Archive underperformers”Auto-Tune flags underperforming variants with a red “Archive” button.
When you archive a variant:
- It’s removed from active traffic
- If other approved variants exist, they continue running
- If no other variants are available, the control is shown instead
Step 4: Approve new variant suggestions
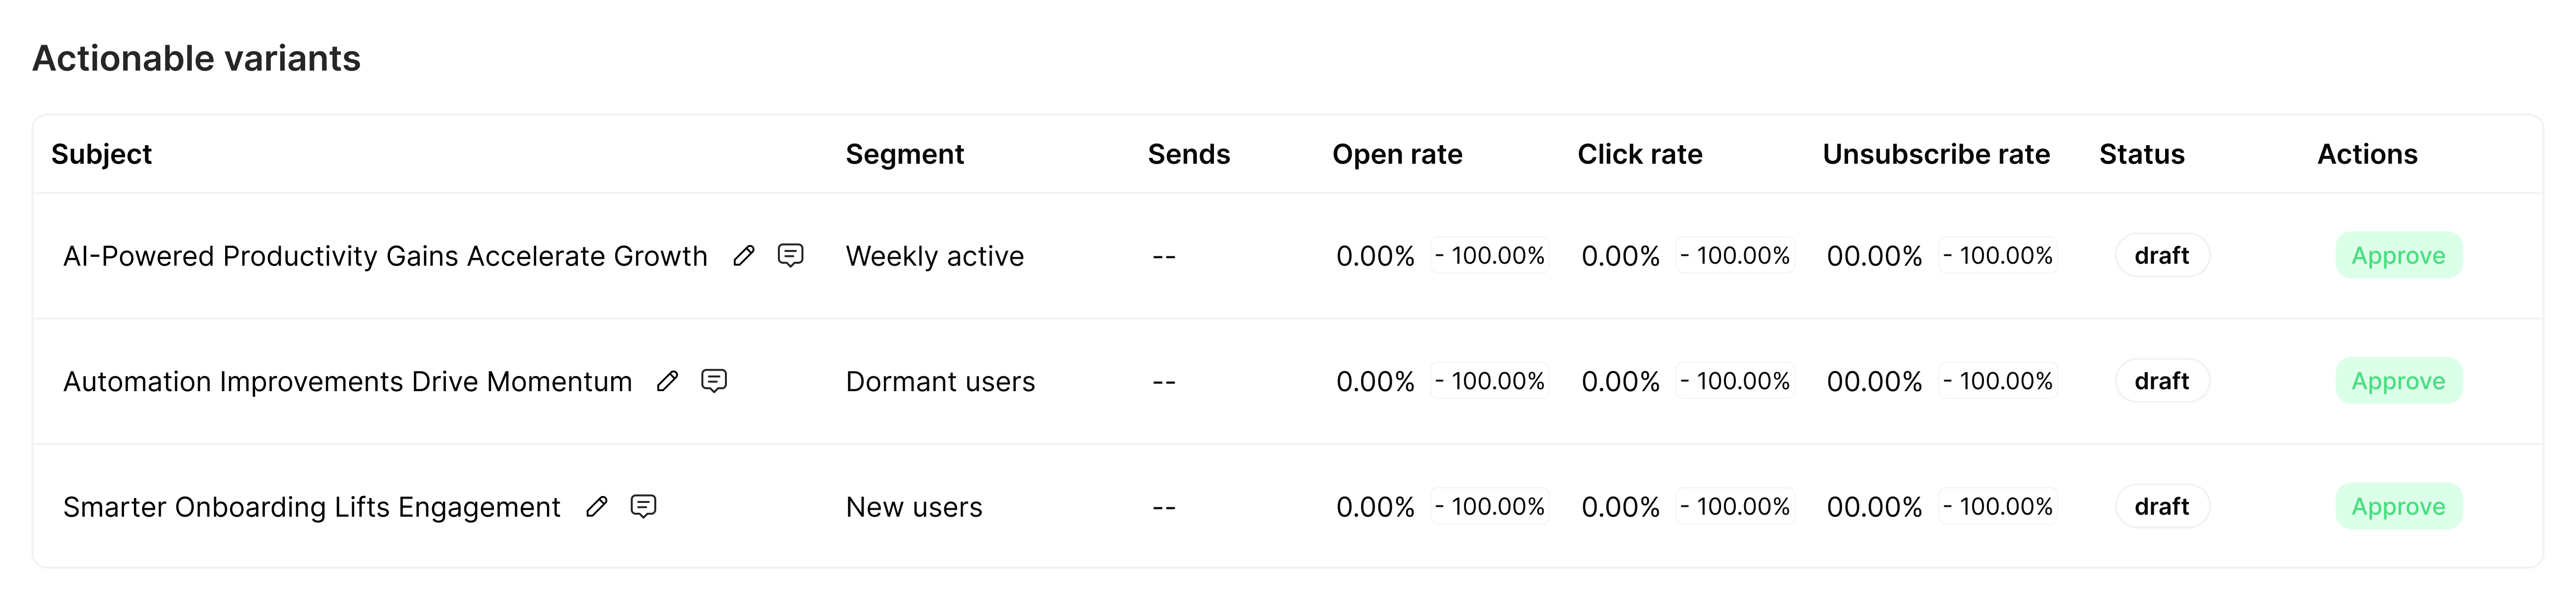
Section titled “Step 4: Approve new variant suggestions”To keep the optimization loop going, Auto-Tune generates draft variants based on patterns from your past tests.
These suggested variants:
- Are labeled Auto-generated
- Appear with a green “Approve” button
- Are never published automatically — nothing goes live without your review
Review the suggestions and approve the ones you want to test.
Step 5: Let it run
Section titled “Step 5: Let it run”After you’ve archived losers and approved new variants, Auto-Tune continues working in the background. Over time:
- Your content improves automatically as performance data accumulates
- Testing maintains momentum without manual oversight
- If performance declines due to fatigue, seasonality, or temporal effects, Auto-Tune detects and responds
- Every message stays evergreen and continuously optimized
Day-to-day management
Section titled “Day-to-day management”Once Auto-Tune is running, your ongoing workflow looks like this:
| When you get a notification | What to do |
|---|---|
| Underperformer flagged | Review and archive if you agree |
| New variants suggested | Review, edit if needed, and approve |
| A variant is winning consistently | Consider shipping it as the new control |
| No notifications for a while | Things are running smoothly — no action needed |
What’s next
Section titled “What’s next”- Read the Analytics Dashboard — dig deeper into experiment performance
- Milestones & Shipping — ship winners and start the next optimization cycle
- Auto-Tune reference — full details on how Auto-Tune works